Static
The static frozen area is always visible in its full size when scrolling. You are free to design the content of the frozen area as you see fit.
Display type
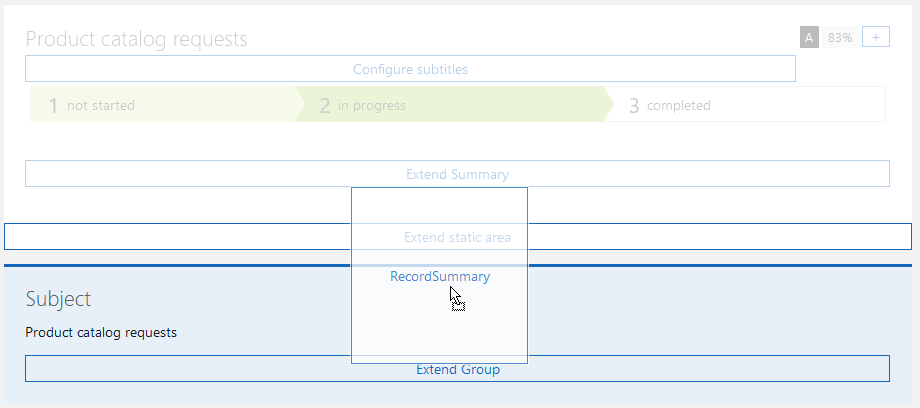
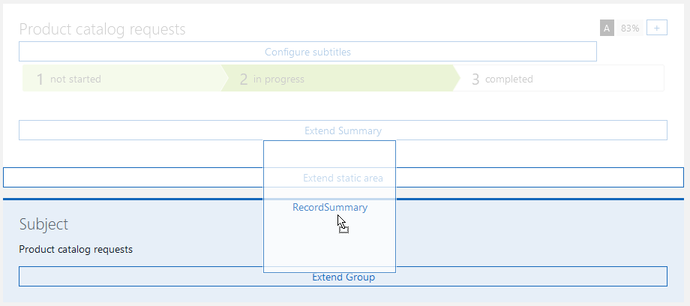
- Here is an example of how it can appear in the App Designer:
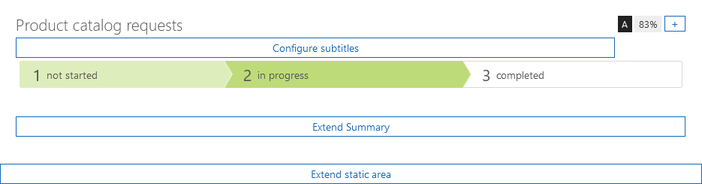
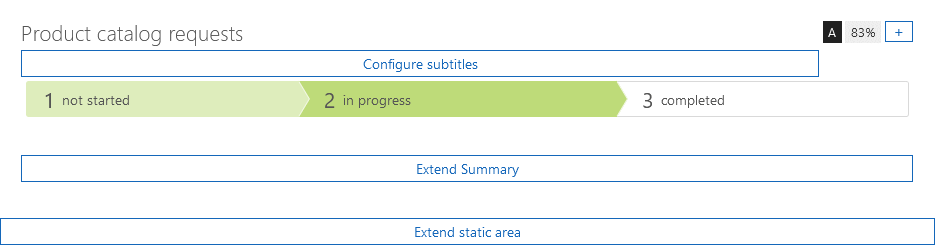
- Example to demonstrate the appearance as per the preview:


Extending the static area
Click the Extend static area button to insert content. You can insert all elements and fields which are available for the selected data record type.
Using the Summary element, you can design the content as you wish and add things like a Title, Subtitle and Badges.

Using this button you can hide the frozen area in the App Designer. This setting only applies as long as the App Designer is enabled. |

Changing the layout of the static area
After you have selected a layout for the frozen area, it will be entered for the corresponding mask. If you wish to change the layout, you can, for instance, use the buttons on the toolbar to undo your changes or discard the changes for the current mask.
If you have made more extensive configurations and you do not wish to lose them, then, as a temporary measure, you can use drag and drop to move them to another location and then change the layout of the frozen area.
The following instructions describe changing a static area into a dynamic area.
Procedure
- Click the element contained in the static area and drag it using drag and drop to your desired location.
- Click the empty space directly above or below the Extend static area button.
- The Vertical window will open.
- To delete, click the button in the Vertical layout window.
- The vertical layout is then deleted and the Manage frozen area button is displayed.
- Click Configure frozen area and select Dynamic.
- Drag the element you moved earlier to the Configure dynamic area button.
- The layout for the frozen area will now have been changed and your previously configured content is now available in the dynamic area.